Create, Dare, Be Passionate!


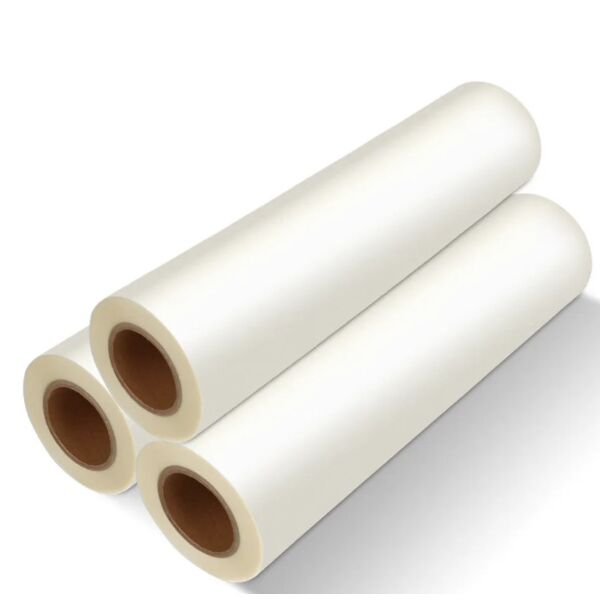


Transfer film rolls for DTF printing - 60cm x 100m - Glossy finish - STANDARD
75,00 € 62,50 €
Availability: In stock
SKU
ZHS_DTF_60CM_STANDARD
Transfer film rolls for DTF printing - Dimensions: 60 cm x 100 m
This DTF film has a thickness of 75μ and a glossy finish for good print quality and vibrant color reproduction. It can be used with either hot or cold peel.
Direct-to-Fly (DTF) transfer is a new technology for textile marking that can be applied to most textiles, both light and dark. DTF is ideal for all your production needs, from single items to much larger runs.
You can freely print your designs using our printers and DTF inks onto this transfer film. Then, sprinkle your design with our hot-melt powder and remove any excess. Bake your transfer. Now you're ready to use it. During the transfer process, you can peel it off hot or cold after pressing.
Why buy your DTF consumables from Créadhésif?
We operate in your field in our own production workshop in Ennery (95), using the exact same consumables we sell. By choosing our solutions, you benefit from personalized support and skills transfer. As a DTF reseller, trainer, and producer, we provide you with the best conditions to optimize your production. By choosing our offer, you opt for a complete solution, benefiting from our support to achieve your objectives.
Printing Steps
Step 1 - Printing on Film
Instead of using regular paper, insert the PET film into the printer trays. You must configure your software to print colors first. The white layer will be printed over the colors on your PET film. It's also important to remember that the print on the film must be a mirror image of the actual image that will appear on the fabric.
Step 2 - Powdering
This step involves applying the hot melt powder to the film containing the printed image. The powder must be applied evenly while the print is still wet. Be sure to remove any excess powder. A simple way to ensure this is to hold the film by its short edges so that its long edges are parallel to the ground (landscape orientation). Pour the powder down the center of the film from top to bottom so that it forms a mound approximately one inch thick in the center, from top to bottom. Retrieve the film with the powder and fold it slightly inward so that it forms a shallow U shape with the concave surface facing you. Now, very gently shake the film from side to side so that the powder spreads slowly and evenly across the entire surface. One alternative is to use automated agitators available for commercial setups .
Step 3 - Melt the Powder
This can be done in several ways. The most common method is to place the film with the printed image and the applied powder in a curing oven and heat it. If this is not possible, use a heat press and bring the top of the press close to the film without touching it. There should be a gap of approximately 4 to 7 mm between the film and the top plate of the heat press. A piece of wire can be used to secure the top of the press so that it does not completely close over the film and leaves the necessary space. For best results, it is strongly recommended to follow the manufacturer's specifications for melting the powder. Depending on the powder and equipment, heating typically takes 2 to 5 minutes at a temperature of around 160 to 170 degrees Celsius.
Step 4 - Pre-pressing:
This step involves pre-pressing the fabric for 2 to 5 seconds. This flattens the fabric and also ensures it is dehumidified . Pre-pressing allows for optimal image transfer from the film to the fabric.
Step 5 - Transfer:
This is the core of the DTF printing process. The PET film with the image and melted powder is placed onto the pre-pressed fabric in the heat press. This process is also called "curing." Curing is carried out at a temperature of 160 to 170 degrees Celsius for approximately 15 to 20 seconds.
Step 6 - Cold Peeling:
It is important that the fabric and the now-adhered film cool to room temperature before removing the film. Once the film has cooled, it must be peeled off the fabric.
Step 7 - Post-pressing
This is an optional but highly recommended step for best results. It allows for improved performance such as wash and rub resistance. In this step, the textile with the transferred design is pressed in the heat press for approximately 10 to 15 seconds.
Advantages of DTF:
- Works with almost all types of fabrics
- No pretreatment required
- Excellent wash resistance
- The fabric has a very light feel
- The process is faster and less tedious than DTG printing
Compared to sublimation printing, the vibrancy of the colors is less intense.
In general, DTF printing eliminates virtually all the constraints often encountered with other textile printing techniques. The versatility of the textiles it can handle is a significant advantage. Since pretreatment is not essential, the overall printing cost is often reduced, resulting in a higher profit margin. In conclusion, the DTF printing process can be considered an efficient and cost-effective way to produce fabrics.
| Features | Product features: Application conditions: How to store this product in optimal conditions: |
|---|
Write your own review