Create, Dare, Be Passionate!


DTF UV: Installation Tips
DTF UV: Installation Tips
The versatility of DTF UV transfers is one of their main advantages. This technique adheres to many smooth, rigid, and non-porous materials, such as wood, metal, glass, or ceramic, offering limitless possibilities. Ideal for personalizing items like mugs, water bottles, pens, and much more, DTF UV transfers allow for a wide range of creative designs.
By following these steps 1 by 1, you ensure that you benefit from visuals perfectly transferred onto your objects, for creations that last over time.
⚠️ Items personalized using this technique should not be washed in the dishwasher, as hot water and humidity can damage the design. We recommend hand washing or washing with a sponge on the non-abrasive side.
❤ Step 1: Select your item
Choose a smooth, rigid, non-porous object without any rough edges. You have an infinite number of possibilities: glasses, coasters, water bottles, lighters, computers, bicycles, helmets, scooters, suitcases, smartphones... The rest depends solely on your imagination!
❤ Step 2: Clean and prepare the surface
Make sure the surface of your object is clean! Separate the two sheets of the DTF UV transfer film, white side up, by pulling horizontally to leave as much adhesive as possible on the transfer. Avoid dust, which could impair adhesion.
❤ Step 3: Apply the transfer
Carefully apply your DTF UV print to the clean surface, starting with one side of the transfer and lowering the other half. DTF UV is designed to adhere permanently.
❤ Step 4: Remove the bubbles and the film
Remove any air bubbles with a squeegee or a soft cloth. Then, simply peel off the clear top film and there you have it, your marking is complete!
What's on
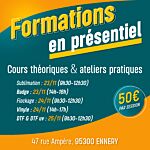
In-person training (half-day)
0,00 € 0,00 €
New! Storage tower for Flex or Vinyl - 36 slots
59,99 € 49,99 €
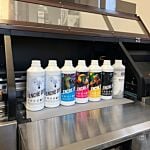
DTF Transfer Ink - 2nd Generation - White - 1L
49,00 € 40,83 €

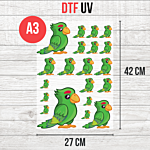
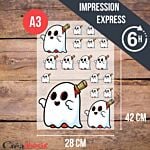
DTF UV Transfer Sheet - A3 Size - 27 x 42 cm
9,50 € 7,92 € From 6,50 €